
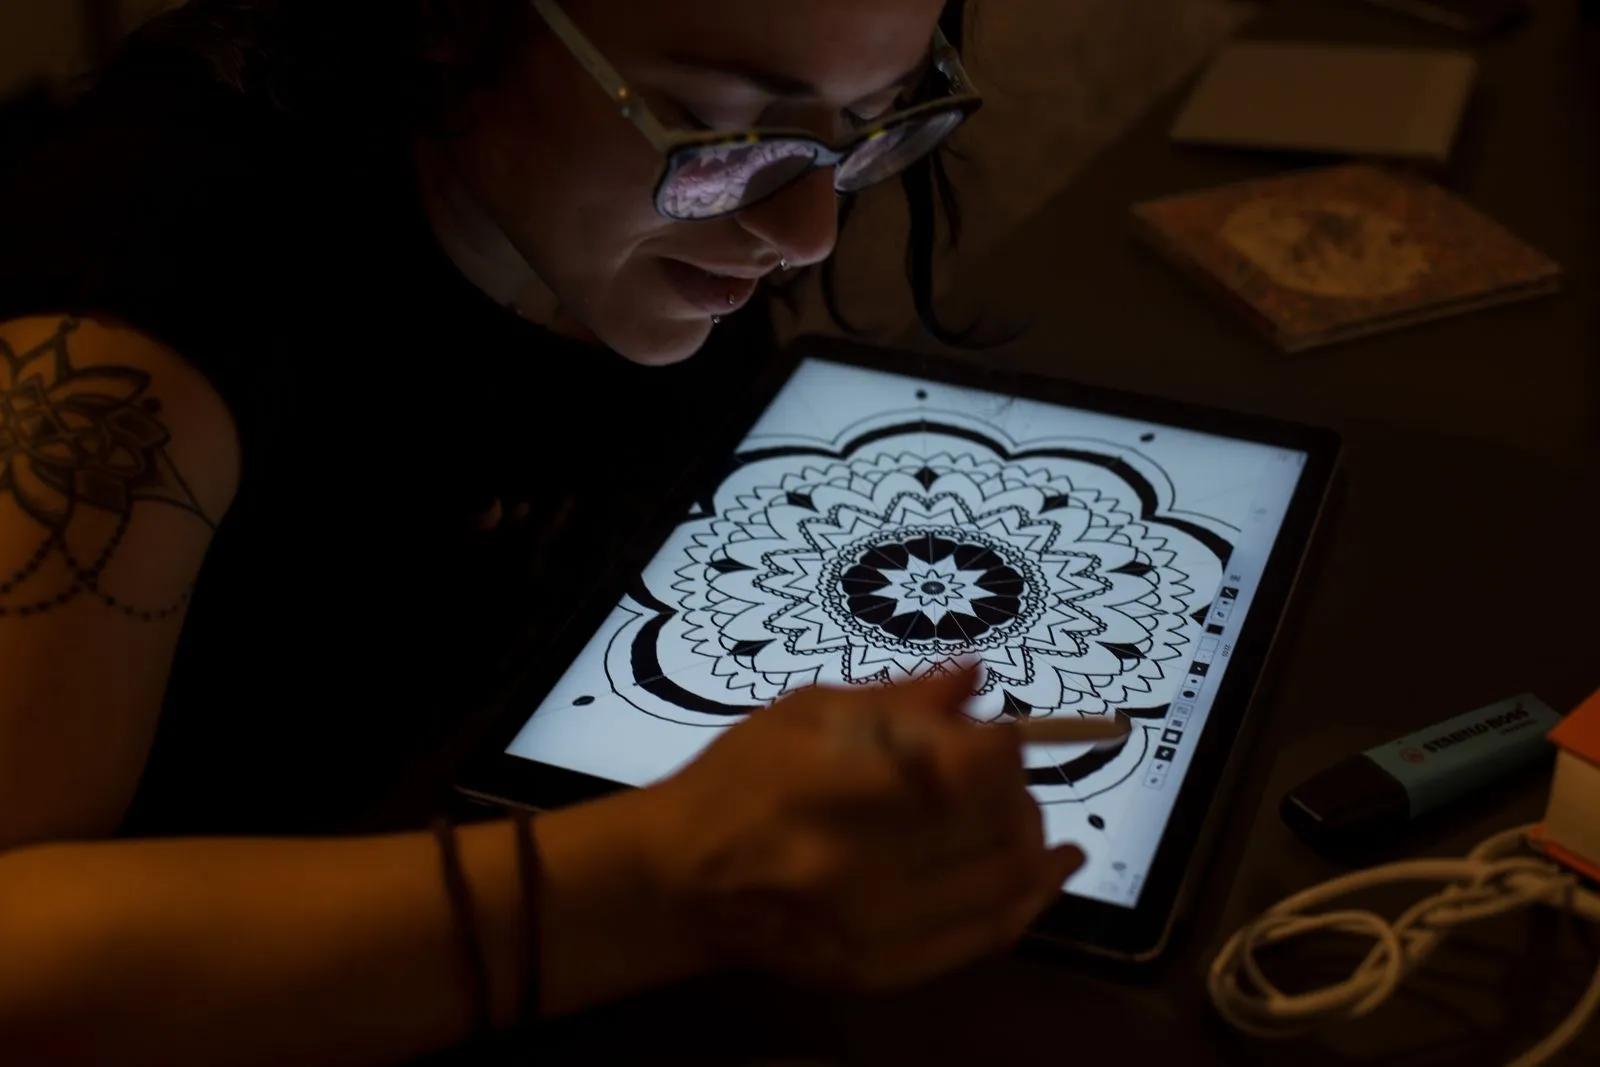
You don’t need a professional studio setup to get started in a digital illustration class. A compatible device, a way to draw or navigate the screen, and a few basics for taking notes are often enough. Before class, check the instructor’s equipment and software guidance so you don’t buy tools you may not need. This checklist covers what to bring, what to confirm in advance, and how to make the most of equipment you already own.
Choose a Device You Can Use
Bring a laptop, tablet, or other device that can run the class software. Check the course instructions for operating system and app requirements, and make sure your device has enough free storage for the program and your practice files. Charge it before class, and bring its charger. If you’re unsure whether your device will work, ask the instructor before purchasing anything.
A drawing tablet with a pressure-sensitive stylus can make digital sketching feel more natural, but it isn’t the only way to participate. Some students draw directly on a tablet screen; others use a basic graphics tablet connected to a computer. If you don’t own either, find out whether the class provides equipment or supports a mouse for introductory exercises.
Check the Software First
Find out which illustration app the class will use and whether you need to install it before arriving. Confirm that your device supports the required version, then open the app once to check that it launches and any trial or account setup is complete. If the course allows more than one program, choose one you can access comfortably rather than installing several at once.
Bring your login details if the software requires an account, and check that you can connect to the internet if activation or cloud files depend on it. Save a little time before class to learn where the brush, layers, undo, and save controls are. You don’t need to master the app; knowing how to reopen your work and save a file is a useful start.
Pack Simple Drawing Tools
If you have a stylus, pack it and any replacement nibs you already own. A comfortable grip and a responsive pen matter more at first than a large collection of accessories. For a screenless drawing tablet, bring its connection cable and check that the driver is installed if the manufacturer requires one. Keep small parts together so they’re easy to find during class.
A notebook and pencil can help you jot down instructor tips, sketch thumbnails, or plan an illustration before opening the app. Headphones may be useful if the class includes video lessons or focused work time, but check whether they’re appropriate for the format. You can leave specialty brushes, premium add-ons, and extra monitors at home unless the course specifically recommends them.
Do a Quick Pre-Class Check
The day before class, test the full setup: connect the tablet, open the drawing app, make a few marks, and save a test file. This can reveal a missing cable, an unrecognized stylus, or a software update that needs attention. Bring the file only if the instructor asks for it; otherwise, start with a clean canvas and follow the class exercise.
Pack your device, charger, stylus, required cables, and notebook in one place. If you’re borrowing equipment or using a school computer, confirm what will be available and what you should bring yourself. Brooklyn Draw Lab can answer questions about class setup, but the course instructions should guide your final checklist. The goal is to arrive ready to learn, not to own every tool.
For a first class, prioritize a working device, the required software, a charger, and any stylus or tablet you already use. Confirm equipment needs with the instructor before spending money, and keep the rest simple. With your setup tested and essentials packed, you can focus on drawing and learning.